Difference between revisions of "Tail Tidy Mod"
(Tail Tidy Mod page) |
(No difference)
|
Latest revision as of 13:29, 4 April 2013
Thanks to Brammoforum member 7Racer for this great step-by-step installation. Any reference to "I" in the instructions below is a self-reference.*
Pretty simple DIY install:
Time: <1hr Difficulty: Easy Tools: H5 allen? 8mm socket
Pretty easy install. Just a couple things. I would take the seat off first. The wiring connectors are closer to the bike side vs the light side of the long tail. I took it off from the tail side first hoping the connectors would be there to pull the wires thru the tunnel of the long tail.
Anyways, here is the install:
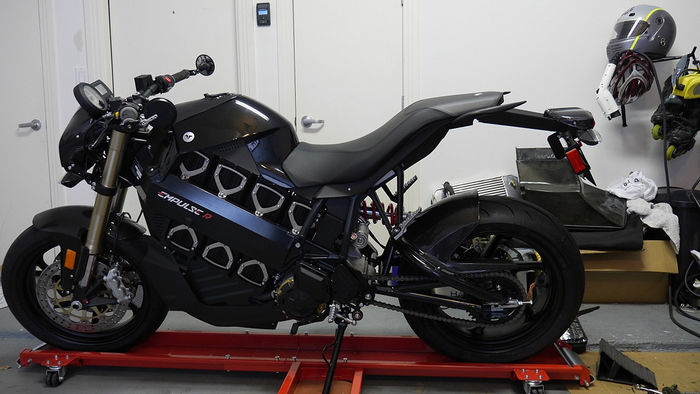
Before:
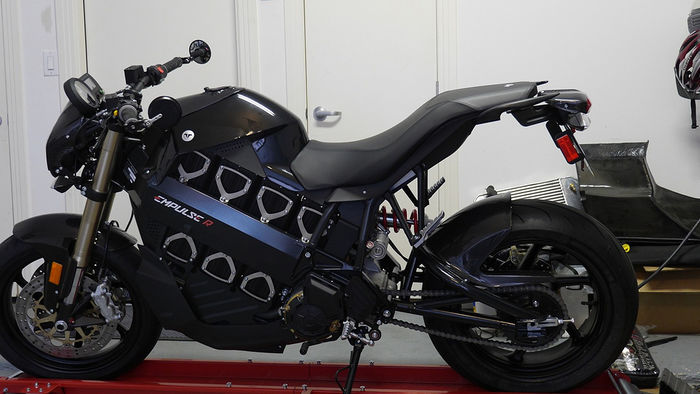
After:
I would remove the seat first.
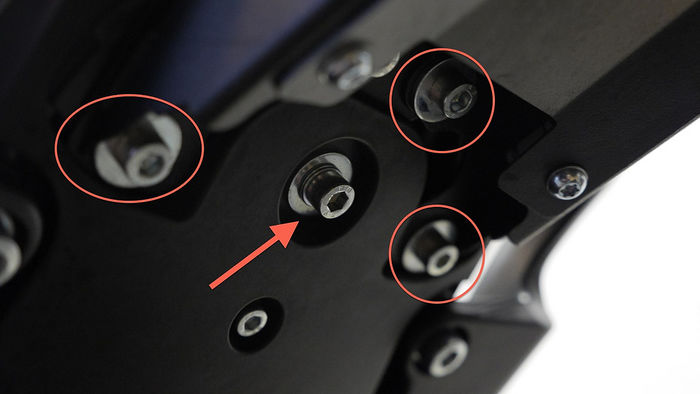
In the picture here it's the center bolt with the arrow. H5? I think Allen.
Lift seat up and place to the side.
Next unbolt the long tail removing the other H5 allens in the above picture. They seem to have a lock tight on them so need a little umph, but they are short bolts.
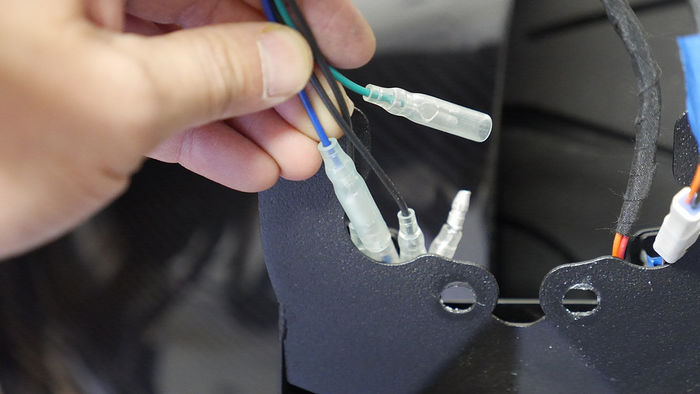
Next expose the wire connectors.
(the long tail will be dangling, I put a towel over the rear CF fender to keep it from scratching anything up)
There should be two that are keyed for the center light. They are different so no worries confusing which one is which.
Then there are the 2 sets of turn single lights. Just keep these straight because if you hook them up backwards you actuate the wrong light! I just marked one of the grounds with a piece of blue painters tape on both ends. The turn signal wiring just pulls out.
Once you do that the long tail and the rear light should be free.
Remove the long H5 bolts up top. And the two 8mm locking nut below (note you need an allen on the other side to keep these from spinning).
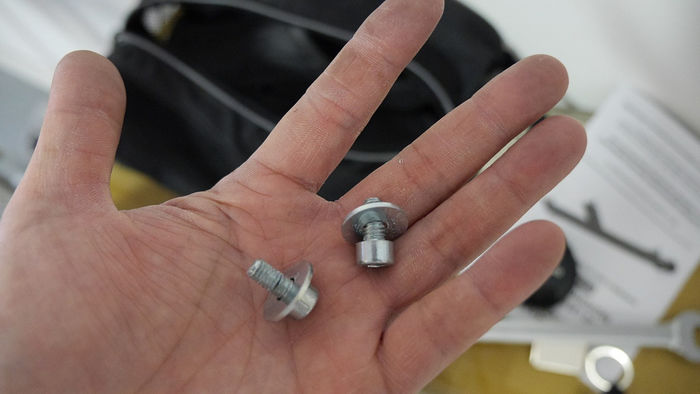
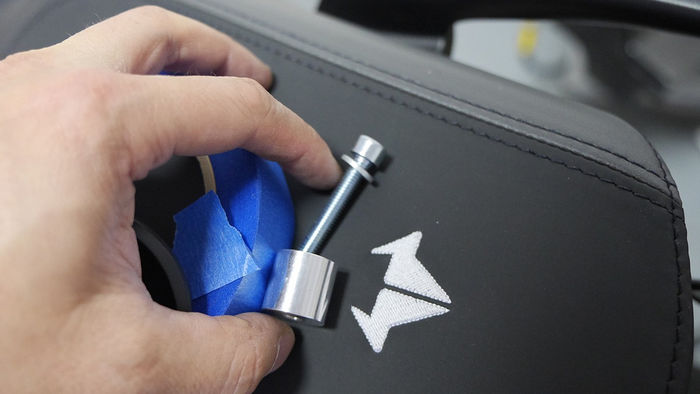
As you can see from the below picture, the two upper bolts are LONG and the metal spacer fits between the light and metal bracket.
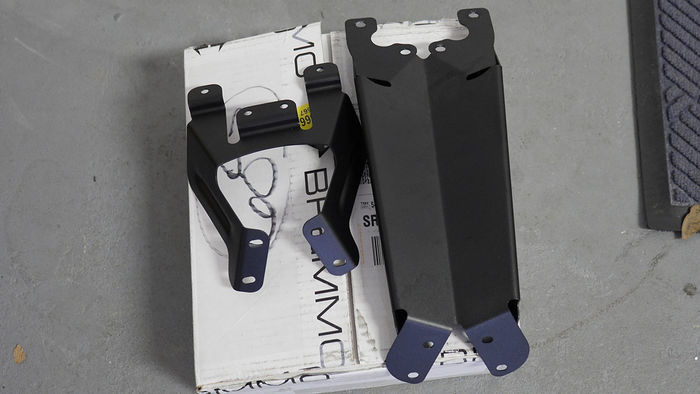
That should be it. The long tail should be off and look like this.
Now just reassemble. The spacers above are a bit of a PITA to fit. What I did was to put the bolt threw the tail tidy, put the space on (both sides), then align the rear tail light and tighten.
Finally with everything tightened and together, pull the excess wiring through the hole that you exposed by removing the seat (this is why you want the seat removed). Make sure there isn't any areas that the wires can pinch and reinstall the seat.
Underneath the new tail tidy, I just zip tied the wires lightly together to keep everything neat.
That's it!
- Note: These instructions are provided as an informal guide and the members of the Brammo Owners Forum take no responsibility for anything if you muck it up.
